The Dream of the Red Tomatoes (and yellow and pink and green and purple and striped…)

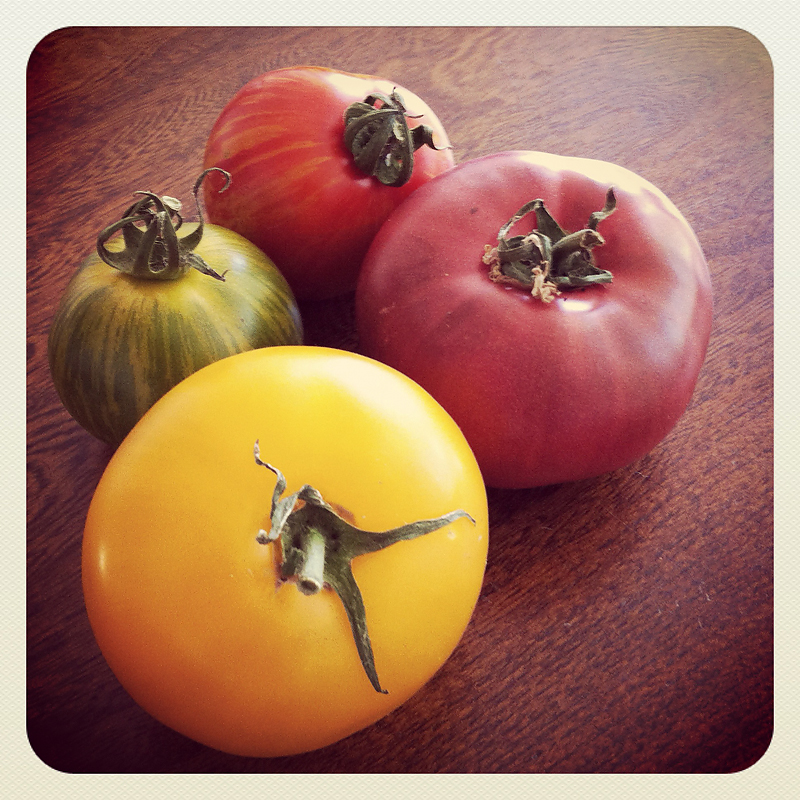
Every time my husband comes up from the garden with the last of the cauliflower or a huge bunch of leeks or green onions, I find myself longing for the day when the tomato plants will be full of luscious ripe fruit.  Funny since by the end of the season last year I was actually sick of fresh garden tomatoes.  I think I moaned aloud when Clive brought the last few batches of tomatoes from the garden.  And by batches, I mean about a 100 tomatoes each time.

The Bounty

The Bounty Close Up

IMG_1991

Sad and disgraceful that I would ever find displeasure in our garden’s bounty, but after eating tomatoes fresh, making soups, salads, sauces, salsa and jams, canning them, roasting them, giving them away and putting them on top of most everything we ate last summer, I couldn’t help it.
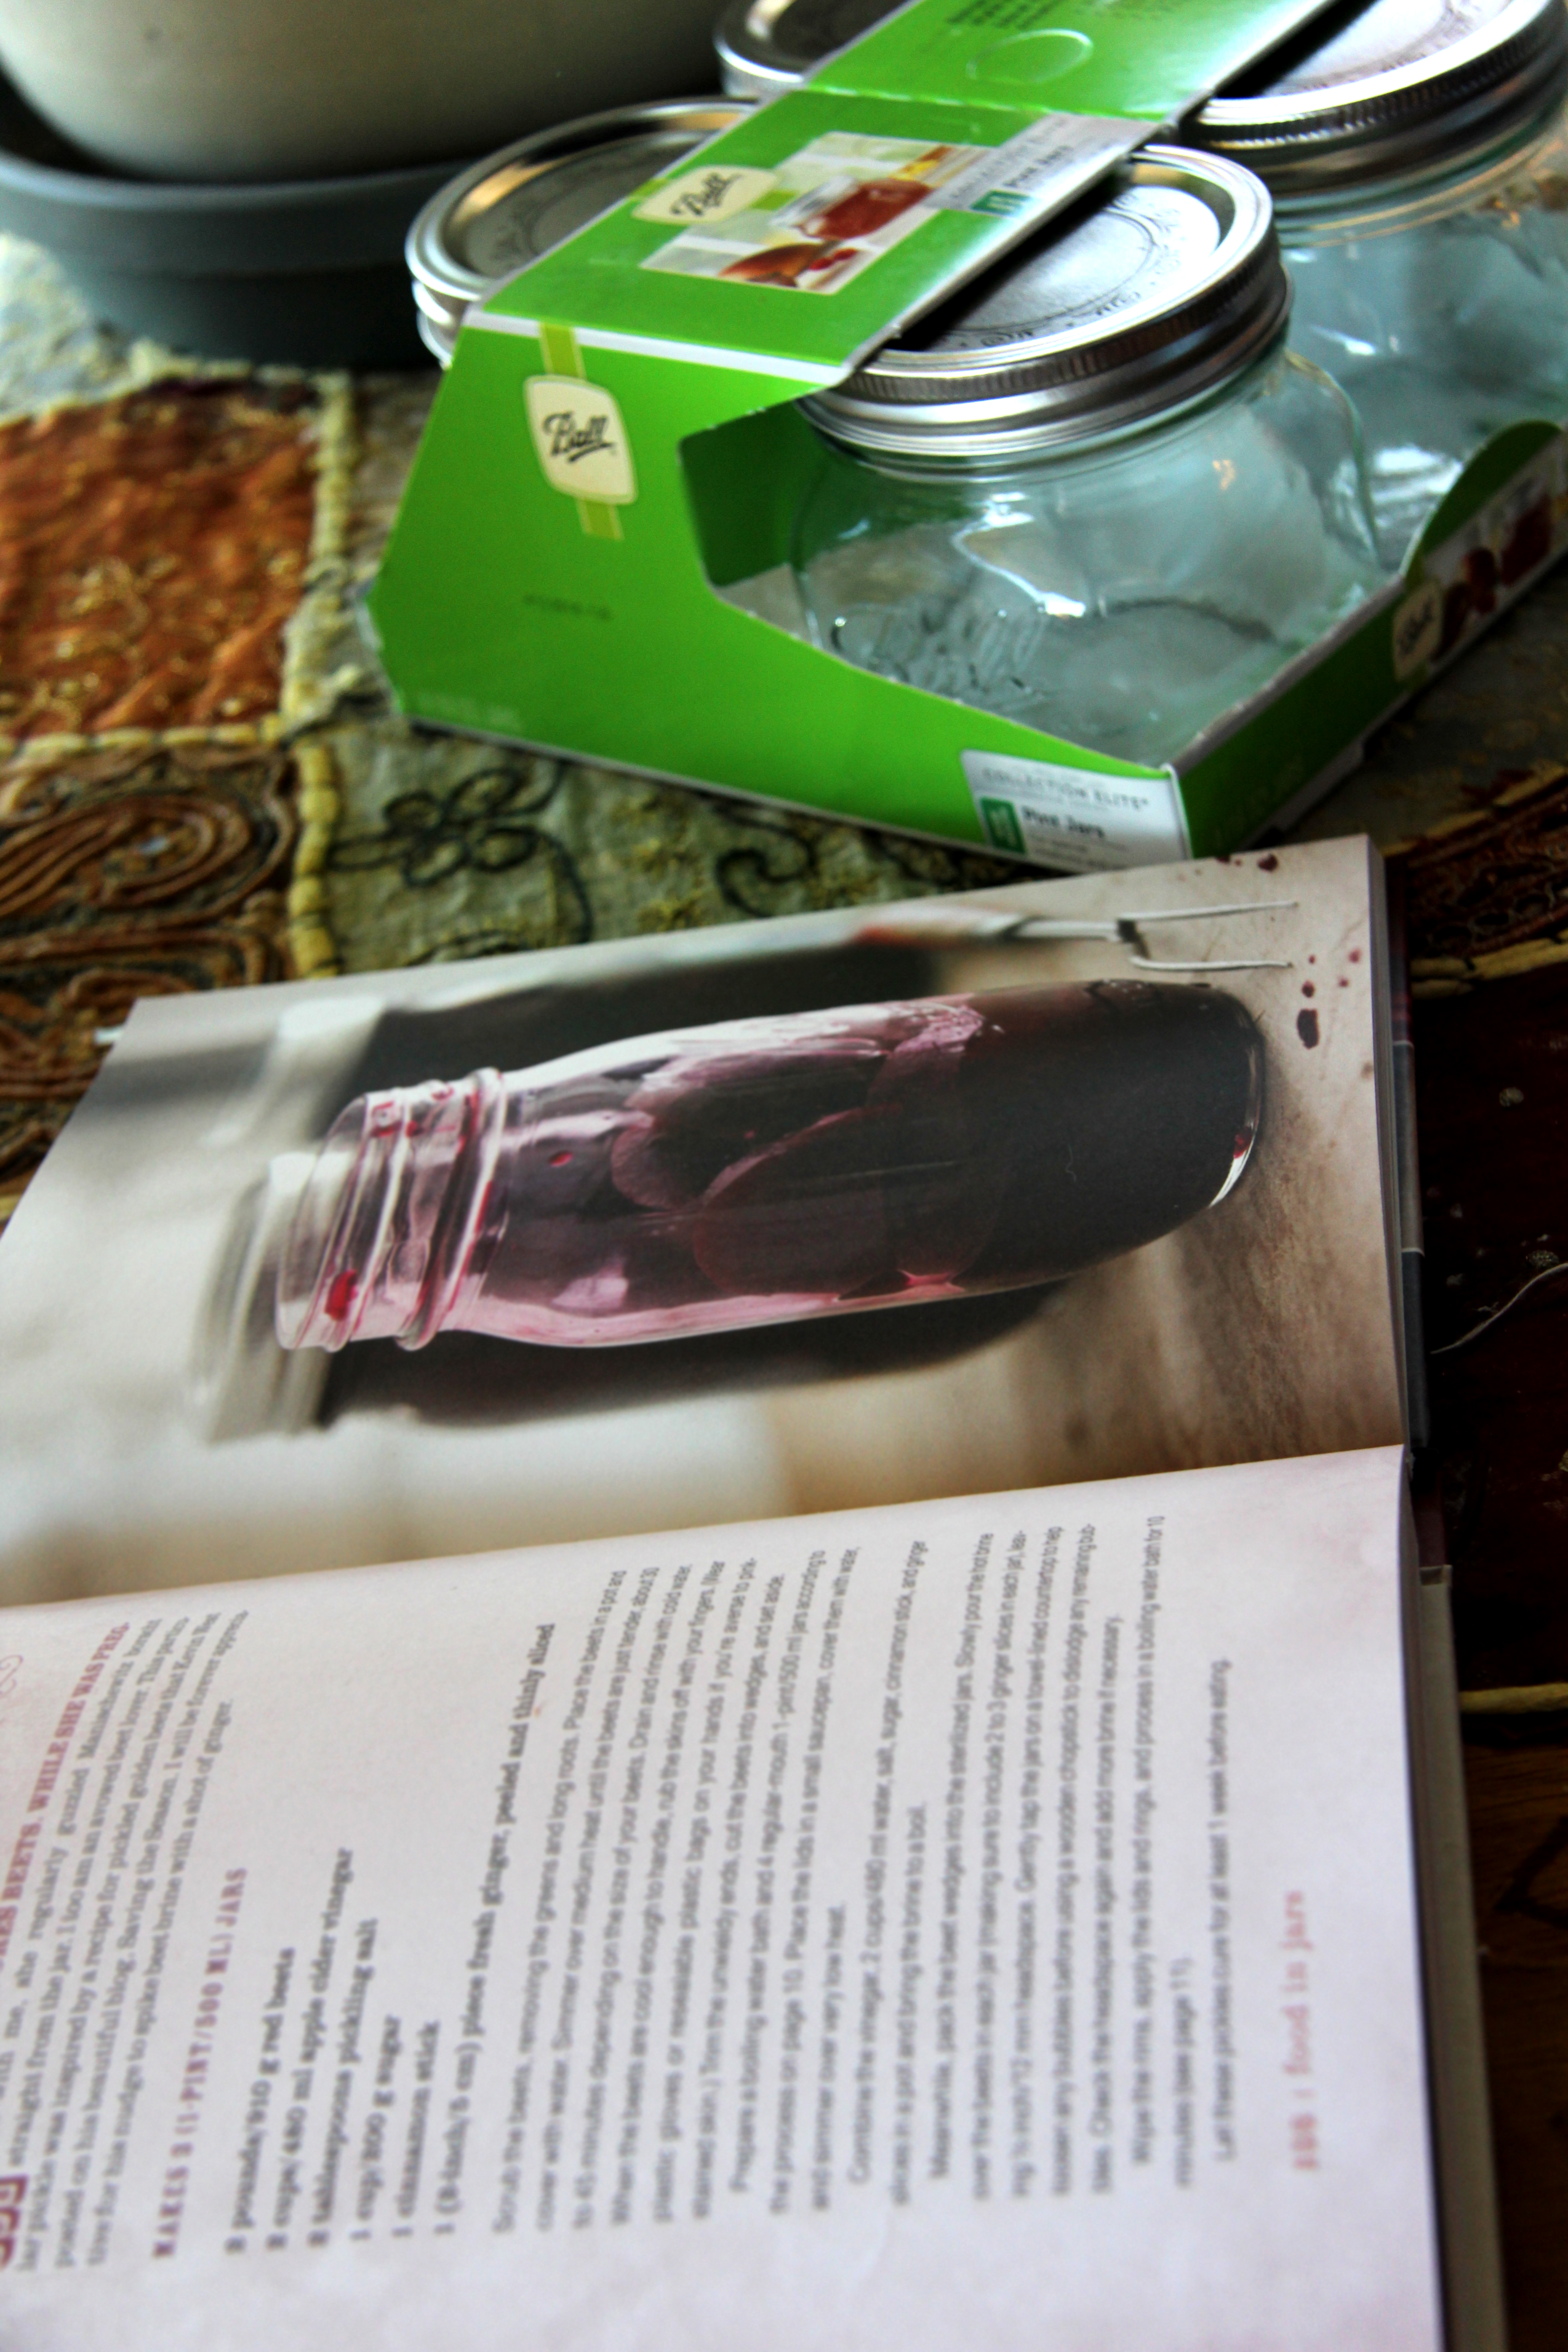
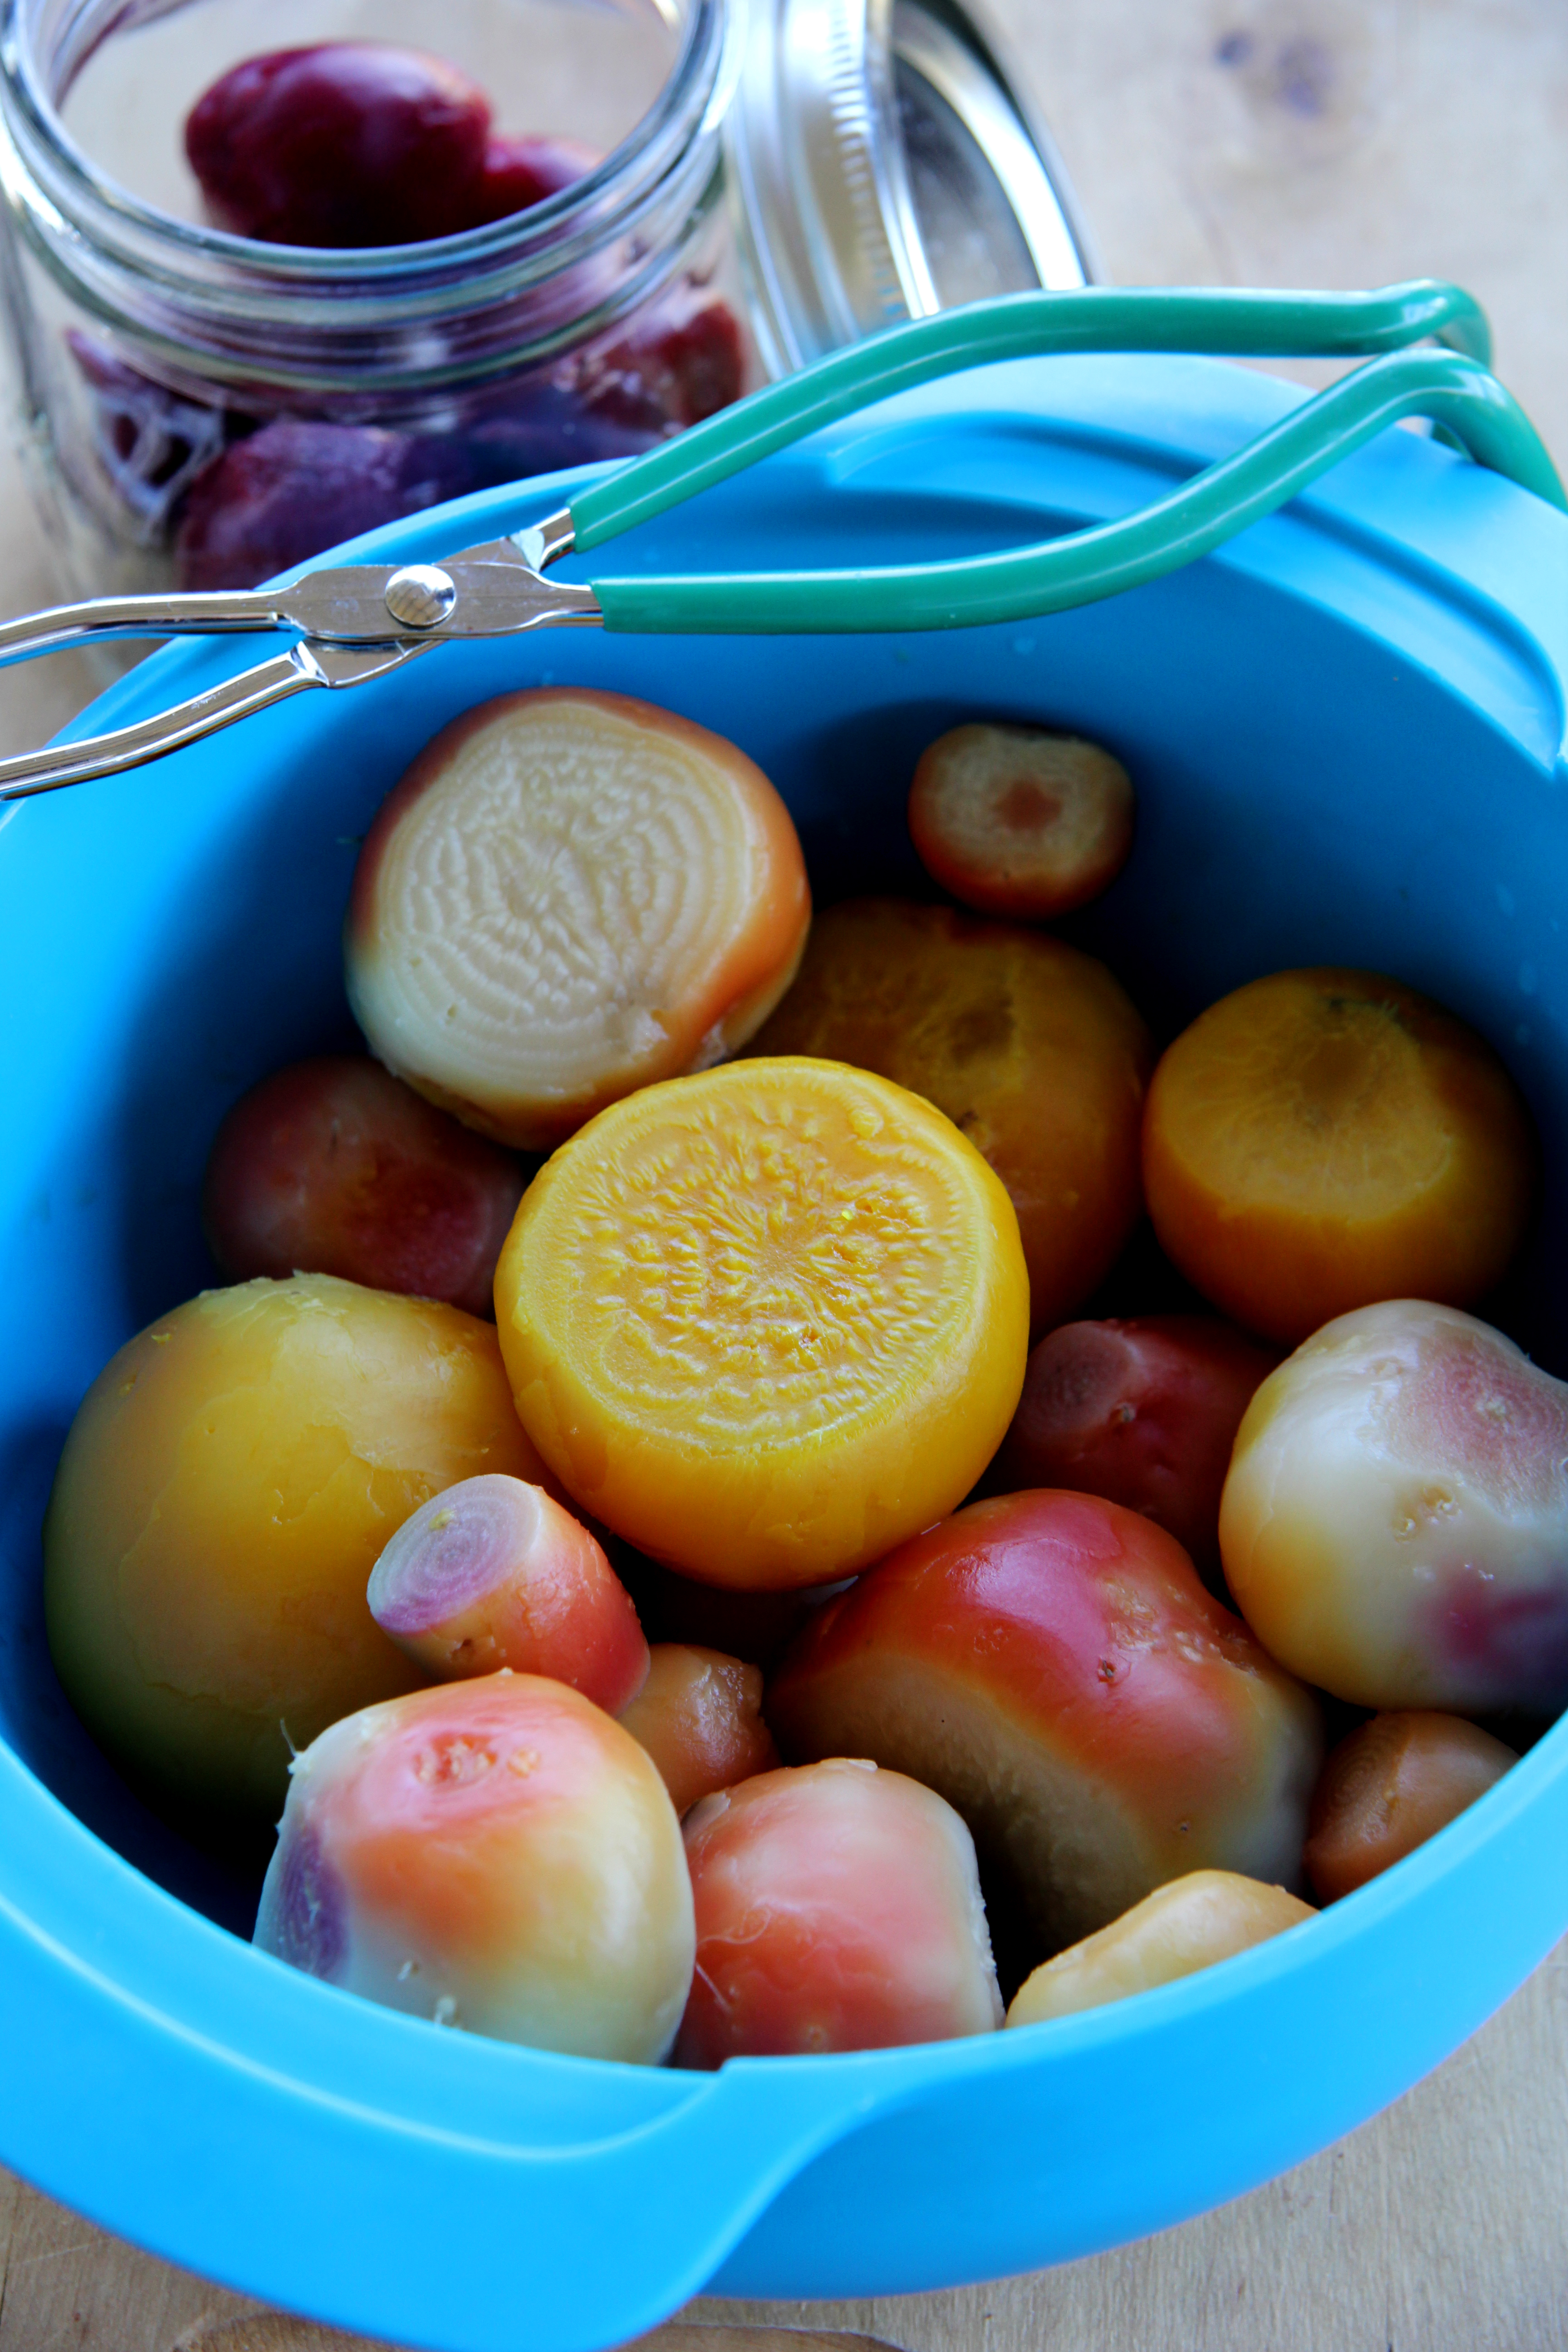
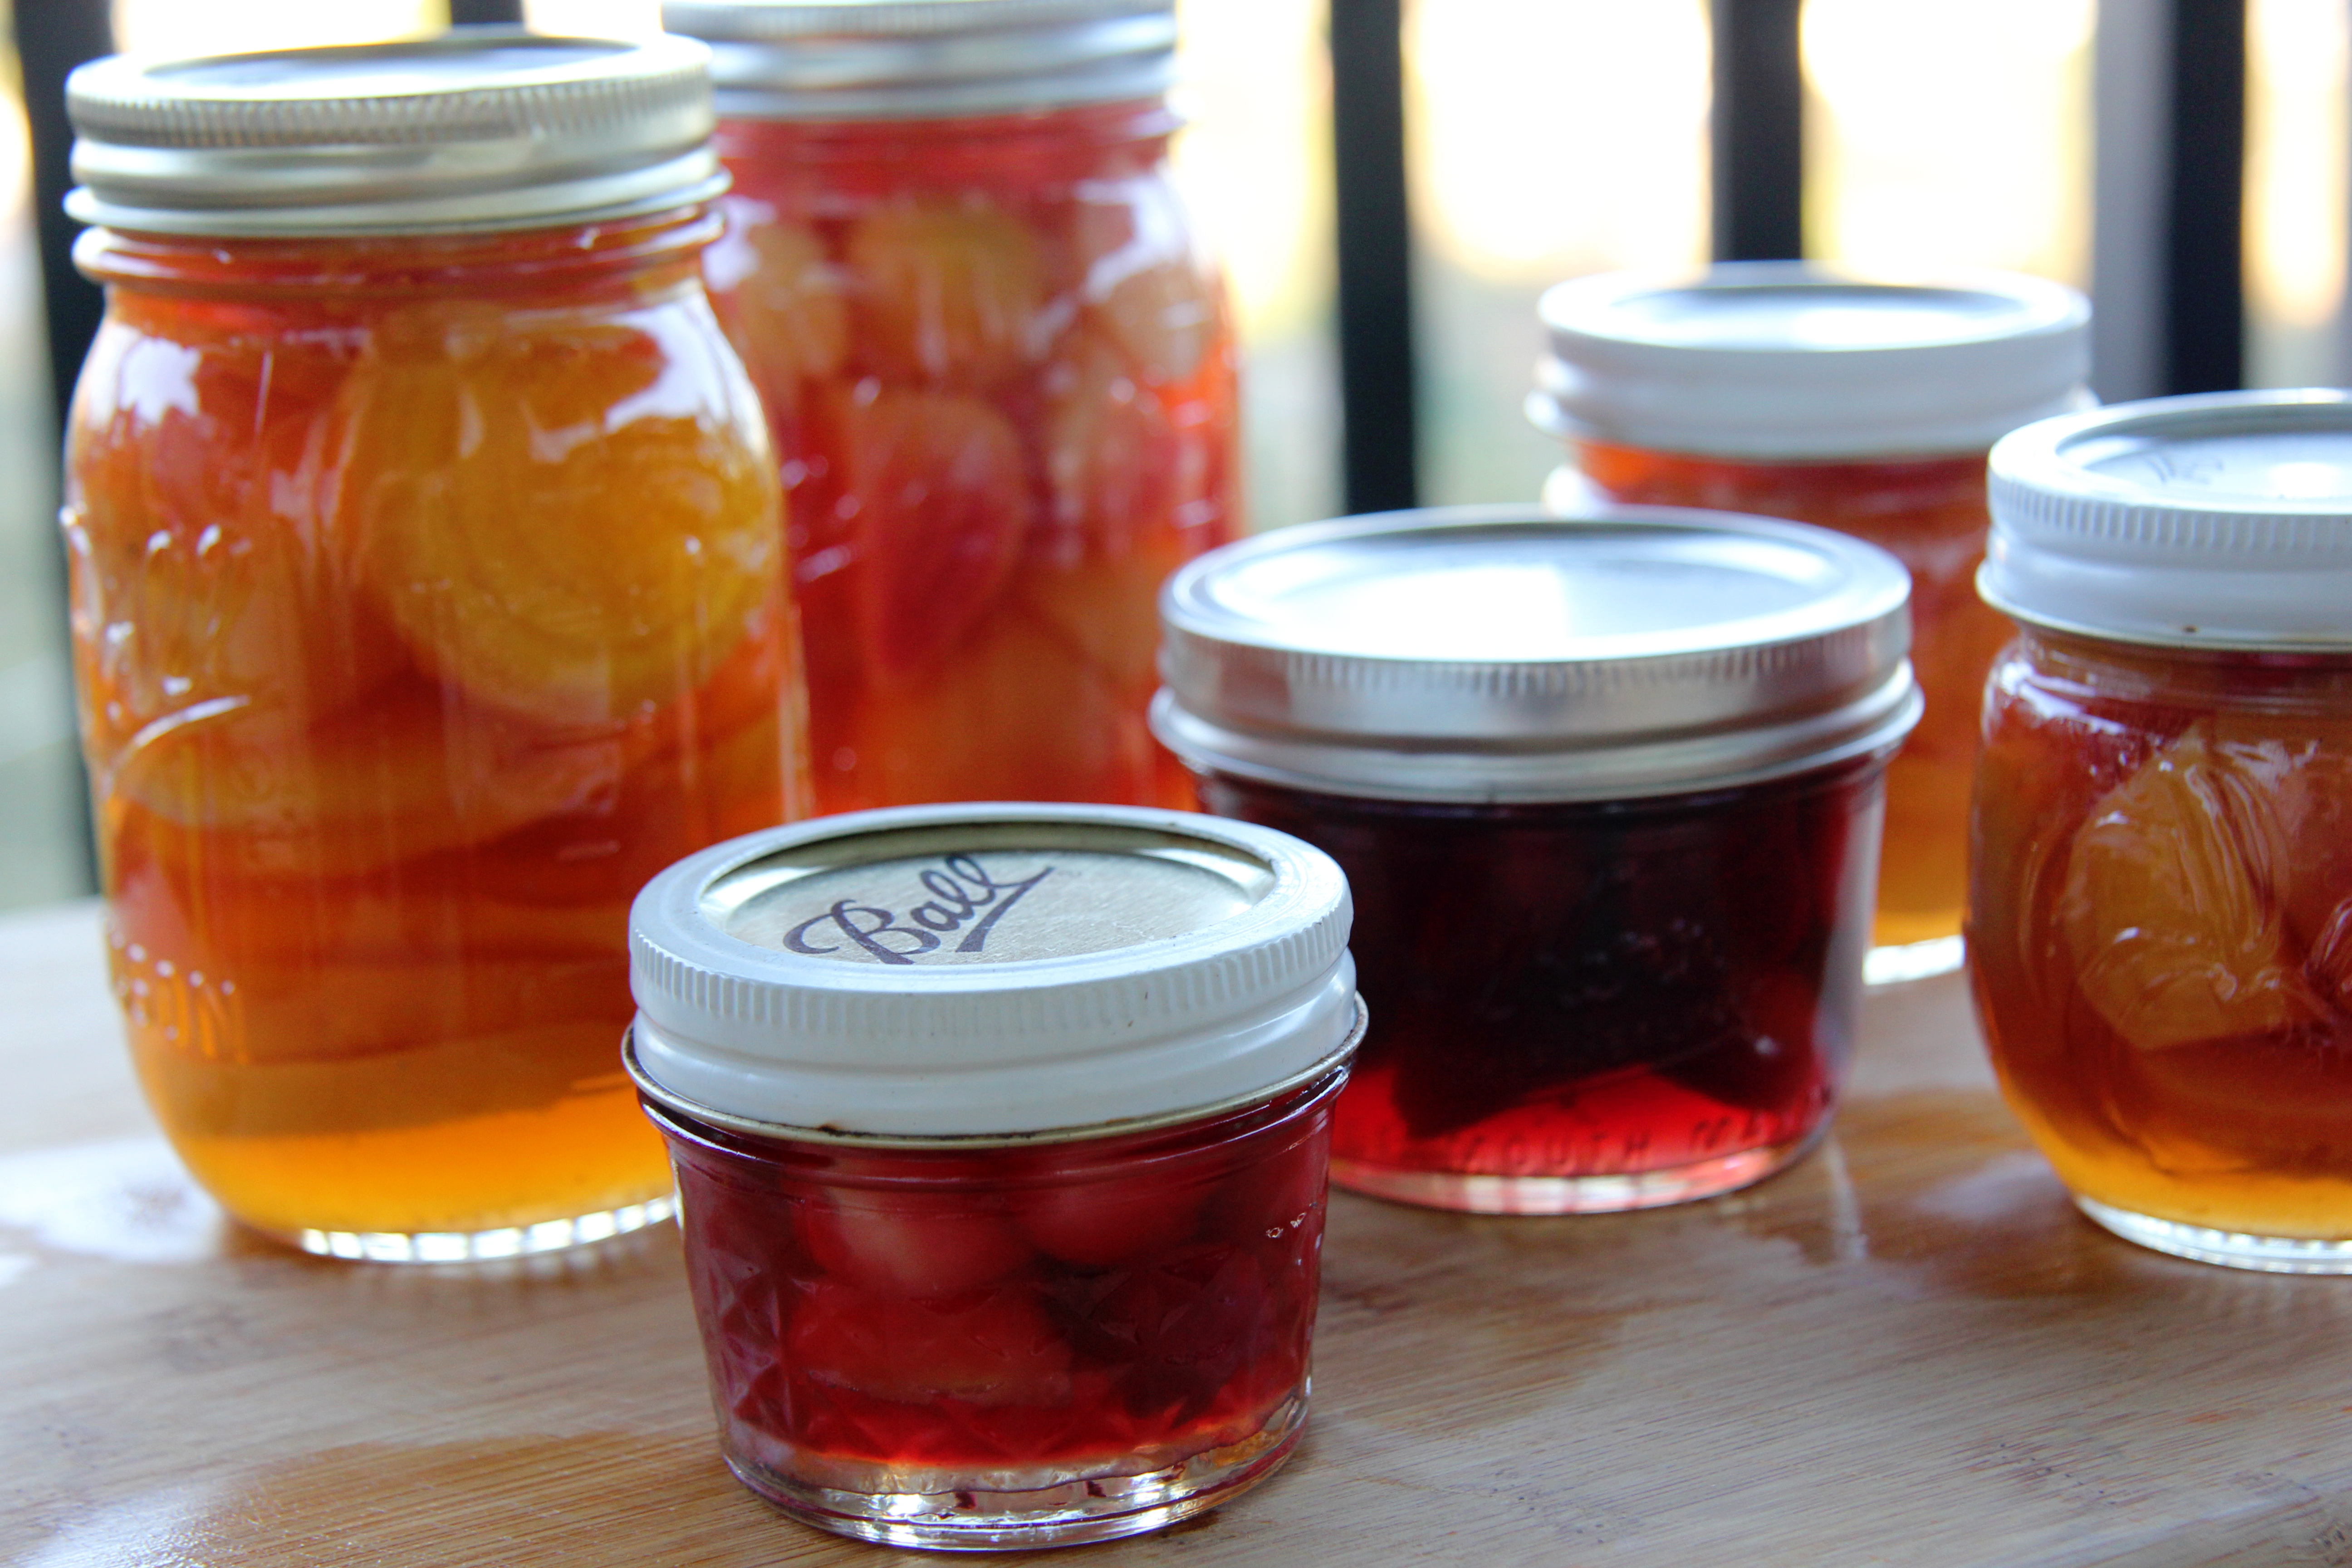
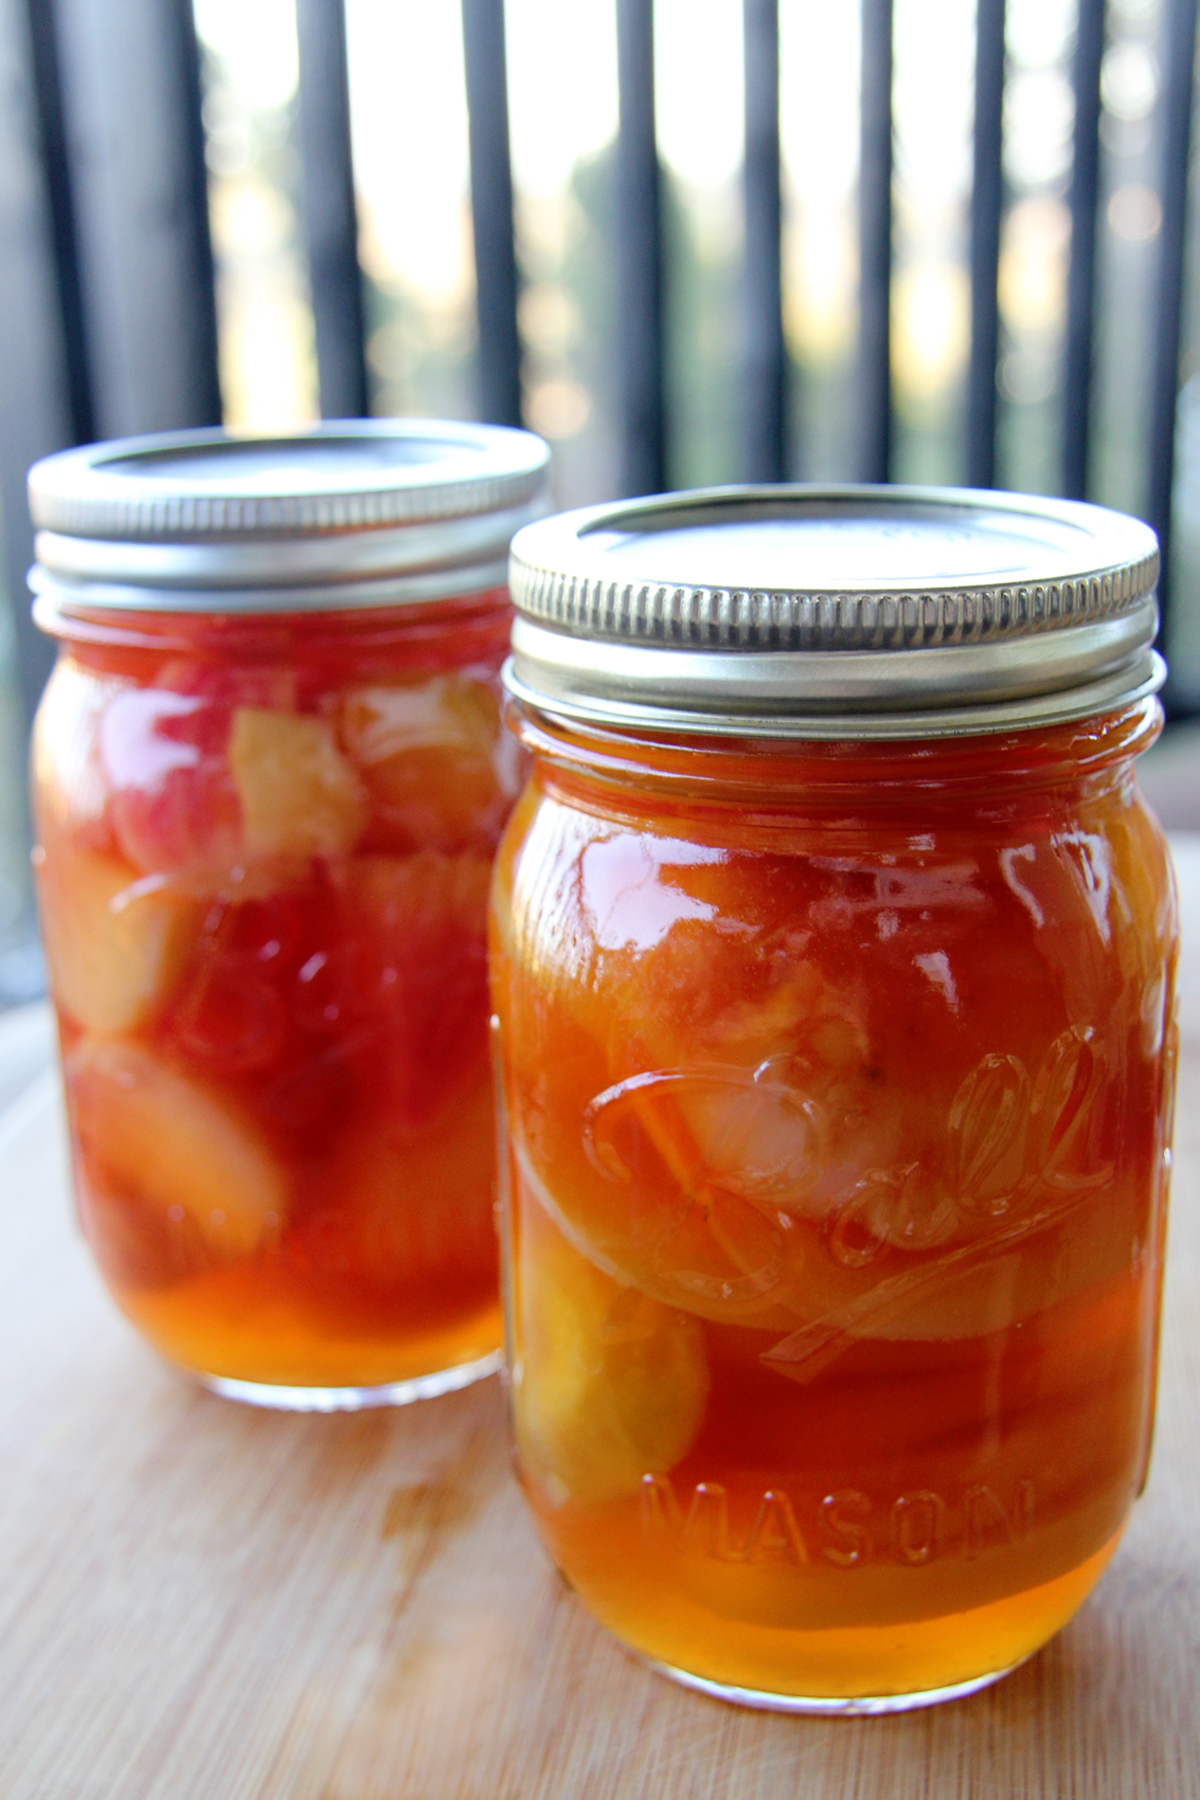
Canning Collage

Canning Tomatoes

Roasting Tomatoes Collage

Oven Roasting Tomatoes

But now I find myself longing for that burst of flavor that only a homegrown tomato has.  One of the simplest and tastiest recipe I came across for using a large amount of tomatoes was Jamie Oliver’s Fresh Tomato Soup recipe.

Jamie's Tomato Soup Collage 4

Fresh Tomato Soup

Recipe adapted from Jamie’s Great Britain by Jamie Oliver

Ingredients

1 large carrot, peeled and roughly chopped

3 cloves of garlic, peeled

4 lbs large ripe tomatoes – leave a few of their little green leaves on

A handful of fresh basil

Sea salt and fresh pepper

White wine vinegar

5 -6 tbsp. cream

Extra virgin olive oil

Preparation

Throw the carrots, garlic, tomatoes and most of the basil (set aside a few smaller leaves for a garnish) into a blender and blend until smooth.  I found it easier to do this in several batches.  Pour into a large saucepan and season well with salt and pepper.  Simmer gently on medium low heat for about 20 minutes until it thickens up., stirring occasionally. Add a small drizzle of white wine vinegar and then bring to a boil.  Once it is boiling, add the cream and remove from the heat.  Serve as is or use an immersion hand blender to make it smooth. I skipped the last two steps because I felt it tasted fresher without the cream and I preferred the rustic texture.  Serve with a few small basil leaves on top as a garnish

Jamie serves it with his cheesy cheddar toast soldiers and I served it with my sister and my famous “After Church Sunday Cheese Bread”.  Any good cheesy toast recipe you have will do.

The Fay Sisters’ After Church Sunday Cheese Bread

Ingredients

2 slices whole wheat bread

Kraft Parmesan Cheese (any good parmesan will work but for nostalgia sake, I always use the good ol’ Kraft from the big green container)

Butter

Garlic Powder

Preparation

Generously spread butter on one side of the bread.  Sprinkle a healthy layer of parmesan cheese and spread it out evenly with a knife.  Sprinkle a light dash of garlic powder over the cheese.  Broil for a few minutes, until cheese is bubbling and starting to crust up and get brown. Enjoy dunked in the soup or on its own.

Tomato Art

Vintage Tomatoes

Gingery Pickled Beets

My husband has slowly started clearing out our winter vegetables to make room for his spring planting.  A few weeks ago he decided it was time for the beets to go. So I got out my “Food in Jars” cookbook that my sister gave me as a present after my first canning adventure and found a recipe for Gingery Pickled Beets.

Food in Jars

My friends, Jenny and Vickie, came over to see how the process works and to help me out with the mountain of beets. Well, it turns out there wasn’t a mountain but definitely enough to keep us busy.

I did some of the prep before they arrived – boiling and peeling the beets.  The colors of these beets are so intense and beautiful.

Beets boiled & peeled Beets boiled & peeled

Once they arrived, wine was opened (of course) and then it was a fury of sterilizing the jars, cutting the beets and preparing the brine.

Ready for the brine Ready for the brine Ready for the brine

I will say that the hardest part of this process was filling the jars with the liquid.  So far I have only preserved tomatoes, tomato sauce and red onion marmalade – all of which you cook in one pot and add to the jars.  This calls for placing the beets in the jars first, then adding the preserving brine.  After a few spills over the top, I finally got the hang of it.  We had a little over two pounds of beets, but I only made one batch of brine so it was a mad scramble to make a bit more to fill the last of the jars.

Ready for the brine Adding the brine Adding the brine

We had a lot of fun and this executive canner couldn’t have done it (well, wouldn’t have wanted to do it) without my two sous canners.  They each got to take home a jar as a parting gift for their efforts.

Processed Processed Good to the last drop

Epilogue:  Over a week has passed since I made this recipe so last night we decide to open a jar to taste.  So delicious.  I had to stop my husband from eating the whole jar since we all wanted to try them. I will definitely be making this again.

Pickled & Delicious


Gingery Pickled Beets

Adapted from Food in Jars by Marisa McClellan

(if you are at all interested in canning, seriously – buy this book.  It is amazing)

Ingredients

2 pounds beets (I used mix of red, golden & chioggia beets)

2 cups apple cider vinegar

2 tablespoons pickling salt (I substituted kosher salt and it worked fine)

1 cup sugar

1 cinnamon stick

1 (2 inch / 5 cm) piece of ginger, peeled and thinly sliced

Preparation

Scrub the beets and remove the greens and roots.  Put beets in a pot and cover with water.  Simmer over medium heat until the beets are tender, approximately 30 minutes. Be careful not to overcook, you want them to be firm so they are still a bit crunchy once they are pickled.  Drain and rinse with cold water.  Once they are cool, rub the skins off with your fingers.  Beets stain so wear plastic gloves!  Cut the beets into wedges and set aside.

Sterilize 4 regular-mouth 1-pint jars in a boiling water bath. Place the lids in a saucepan, cover them with water, and simmer over low heat.

Combine vinegar, 2 cups of water, salt, sugar, cinnamon stick and ginger slices in a pot and bring to a boil.

While the brine is boiling, pack the beets into your sterilized jars and slowly pour the hot brine over the beets.  Make sure to include a few ginger slices in each jar.  Leave about 1/2 inch space from the top.  Gently tap the jars on the countertop to loosen the bubbles or use a wooden chopstick to dislodge the bubbles. Add more brine if necessary.

Wipe the rims, put on the lids and rings and process in a boiling water bath for 10 minutes.

Let them cure for at least a week before eating.


Gifts from the heart, or at least from your own kitchen

I decided this past Christmas that I was going to try my hand at homemade gifts. Now I certainly couldn’t post this before Christmas for fear that it might spoil the surprise for those receiving my homemade goods. But I was so pleased with how they turned out that I now will be giving them as hostess, birthday, cheer up or just because gifts. So I suppose this is the spoiler alert for any of my friends who plan on inviting me to a dinner party.

It started out with a simple idea.  I cut a basil salt recipe out of Food Network Magazine and it had been sitting in my stack of recipes for months, along with the kosher salt and sweet little glass salt shakers from Cost Plus collecting dust in my pantry. One Saturday when my basil plant was overflowing I just picked off all the leaves, threw them in the food processor with the salt and baked the mixture.  It came out the most amazing green color. It was electric.

Basil Salt fresh out of the oven

Basil Salt fresh out of the oven

I poured it into the jars, made my own labels, tied on an old-fashioned Christmas tag with twine and that was that.

Basil Salt Jars by Jules

Basil Salt Jars by Jules

BASIL SALT

adapted from Food Network Magazine

Pulse ½ cup kosher salt with 1 cup packed fresh basil leaves in a food processor.  Spread on a baking sheet and bake at 225 degrees F until dry, about 45 minutes, tossing halfway through. Let cool and pulse again for a fine powder.  I skipped the second pulse because I liked the coarse grainy look and feel.

I decided my next food gift was going to be my sister’s delicious red onion marmalade.  It is always a favorite and now that I know how to can, I was able to make several to take with us to London for Christmas.

Double the recipe if you can, but you will need a very large sauté pan.  This batch only produced 3 full jars (plus some extra as a nice treat with aged gouda that night)

Red Onion Marmalade Label

Click the label for the recipe on my sister’s blog

The last gift I made was Jamie’s Epic Hot Chocolate.  As I might have mentioned before, I am a huge fan of Jamie Oliver and spent the months leading up to Christmas watching all of his past Channel 4 Christmas specials over and over.  He makes this incredibly rich hot chocolate and griddle pan waffles outside on a cold winter’s day over an open fire.  It was the perfect gift for my husband’s best friend’s three girls, or young ladies as I should now call them.  The only thing I didn’t add was the malt powder.  I couldn’t find it anywhere here in Los Angeles.

The best part of this gift was that I had been racking my brain to come up with a nice gift for my son’s preschool teachers and this was it. It was perfect because my son could help make it, which I think makes it more special.

JAMIE’S EPIC HOT CHOCOLATE

adapted from “Jamie’s Christmas With Bells On”

 Ingredients

4 heaped tbsp. cocoa powder

3 heaped tbsp. powdered sugar

2 heaped tbsp. of malt powder (optional)

2 heaped tbsp. corn flower

1 pinch sea salt

1 pinch cinnamon

3.5 – 4 oz. quality dark chocolate (70%), finely grated (plus a little extra coarsely grated to add to the top)

Preparation

Add the above ingredients (except the coarsely grated chocolate) into a large jar and shake to mix up.  Once mixed, spoon into gift jars and add a sprinkle of the coarsely grated chocolate on top.

Use 5 heaped tbsp. to 1 pint steaming milk.